Drywall and Plaster Repair in Harrisburg, PA
When you decide to repaint a room, you might be tempted to jump straight to picking colors. But if you want a professional look, you have to look closer at your walls first. Any crack, dent, or rough patch you see now will only look worse once you apply a fresh coat of paint.
If you own a home in Harrisburg, PA, you likely deal with a mix of historic plaster and modern drywall. Preparing these surfaces correctly is the most important step in your project. By fixing the foundation of your walls now, you ensure your new paint stays smooth, sticks properly, and lasts for years.
How Is Plaster Repair Different from Drywall?
Although plaster and drywall often look identical once painted, they are built very differently. Traditional plaster walls are formed by applying layers of lime, sand, and reinforcing fibers over narrow wooden strips called lath, while drywall is made from gypsum panels covered with paper and attached directly to wall framing.
Different Material Behavior
Plaster and drywall respond very differently to age, moisture, and impact. Plaster is thicker, harder, and more durable, but over time, it can become brittle and prone to cracking. In many older homes, plaster is applied over wooden lath, where it forms “keys” that hold it in place. When these keys weaken or break, the plaster can loosen, bulge, or even detach from the wall.
Drywall, on the other hand, is softer and more flexible. It doesn’t rely on keys or layered construction, so it’s less likely to separate from the wall structure—but it can dent or puncture more easily.
Different Repair Process
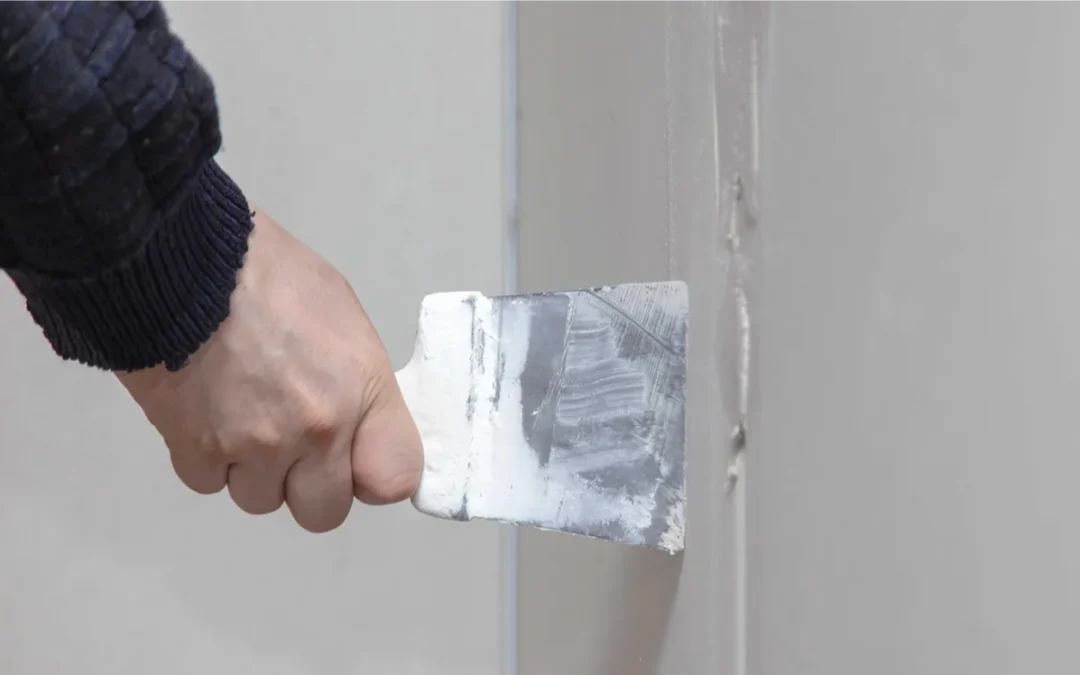
Drywall repairs are usually straightforward. Damaged sections are cut out, replaced with a new piece of drywall, and then taped, mudded, and sanded smooth. This makes repairs faster and more predictable.
Plaster repair is more detailed and time-intensive. Instead of simply cutting out a section, you often need to stabilize the existing plaster, reattach loose areas, and rebuild missing sections using specialized plaster compounds. The goal is to match the original thickness, texture, and strength so the repair blends seamlessly with the surrounding wall.
Matching Texture and Finish
One of the biggest challenges with plaster is achieving a consistent finish. Older plaster walls often have unique textures or subtle imperfections that are difficult to replicate. Repairs must be carefully layered and finished to avoid visible patches.
With drywall, the surface is typically smooth and uniform, making it easier to match after sanding and painting.
Long-Term Durability
When repaired properly, plaster can last for decades and maintain its solid, high-end feel. However, poor repairs can lead to recurring cracks if the underlying issue—like loose keys—is not addressed.
Drywall repairs are generally stable and reliable, but the material itself is not as dense or impact-resistant as plaster.
How Do You Match Wall Textures After a Repair?
Repairing a wall requires attention to detail, controlled application, and a step-by-step approach to ensure the finish looks consistent from every angle. Even small inconsistencies can become noticeable after painting, so precision matters throughout the process.
Identify the Existing Texture
Matching wall texture starts with understanding what’s already on the wall. Many homes have smooth finishes, but some may feature light textures like knockdown or orange peel. Even subtle variations can stand out, so identifying the exact pattern and thickness is key before starting.
Use the Right Tools and Techniques
Recreating texture requires the right application method. Depending on the finish, tools like trowels, sponges, or hopper guns may be used to mimic the original look. The compound must be applied with controlled pressure and movement so the new texture blends naturally with the surrounding surface.
Build and Adjust in Layers
Texture is rarely matched in one attempt. Light layers of compound are applied and adjusted gradually to get the closest match. This allows better control and prevents over-application, which can be harder to fix.
Check the Surface with Proper Lighting
Lighting plays a big role in spotting imperfections. A work light held at an angle across the wall helps reveal uneven areas, ridges, or low spots that may not be visible under normal lighting. These areas can then be lightly sanded or touched up before painting.
Final Blending Before Paint
Once the texture looks consistent, the area is prepped for paint. Proper priming and finishing ensure the repair blends in fully, making the patched section nearly invisible.
Why Does Flashing Happen After a Drywall Repair?
Flashing occurs when a patched section appears shinier or duller than the surrounding wall after painting. This difference usually happens because the new joint compound absorbs paint differently than previously painted surfaces.
If paint is applied directly to an unprimed patch, the compound may draw moisture unevenly, which affects how light reflects from the finished surface. Applying primer before painting seals the porous compound and helps create a consistent surface so the paint dries evenly.
From stabilizing historic plaster to seamless drywall patching, our team prepares your Harrisburg PA, home for a flawless finish. We, at Grates Pro Painting, provide you with expert drywall and plaster restoration to help West Chester homes look their best. We handle the mess and the technical details so you can enjoy a perfectly smooth interior. Request a free quote from our experts today!